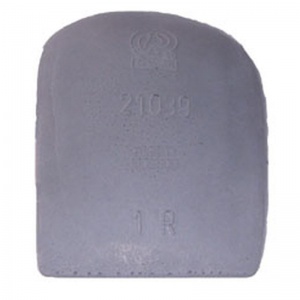
Podotech High Density High Raise Valgus Pads
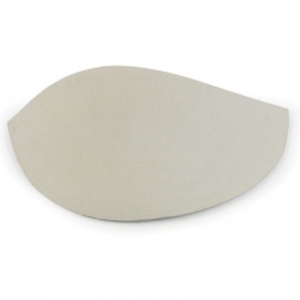
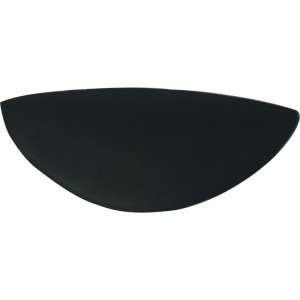
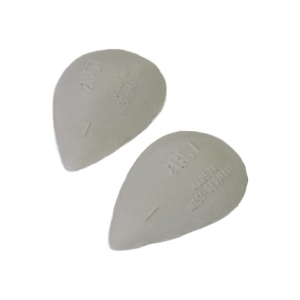
For those who are suffering from over-pronation and straining the foot because of this roll, it is important to get the right level of support in your shoes to stop this from causing problems. The Podotech High Density High Raise Valgus Pads are designed to do just this. Made to be used with the various Express Kits available, the pads provide support for the arch of the feet to help correct over-pronation.
Who can benefit from the High Density High Raise Valgus Pads?
The Valgus Pads are ideal for people who suffer from the following foot conditions:
- Pronation
- Over-pronation
- Foot strain
This is due to the way the Valgus Pads fit into the medial longitudinal arch. This corrects the position of the foot and helps to prevent it from rolling by supporting it and encouraging a natural walking position.
The high density of the material means the pads offer a secure level of support and comfort. The high raise helps to adjust the position of the feet, meaning if you are suffering from excessive pronation, a high raise has a better chance of aiding the position of your feet and ankles.
Features of the Valgus Pads
The pads are available in a range of sizes. These vary in length so you can find the best fit for your needs. The sizes are as follows:
| Size | Length | Height |
| Size 0 | 7.5cm | 1.2cm |
| Size 1 | 9cm | 1.4cm |
| Size 2 | 10.5cm | 1.6cm |
| Size 3 | 11cm | 2.2cm |
The pads have a hardness of 35 - 40 Shore A. The pads are supplied in a pair.
How Do I Correctly Fit My Valgus Pad?
Due to micro-nuances and differences in the shape and size of every persons feet, we recommend that you visit a podiatrist to have your Podotech Pad fitted.
If you are already aware of the position required, we recommend taking an adhesive strip or piece of sticky tape and pressing down until they are firmly in place.
Fitting Tips and Tricks
- Visit a podiatrist to confirm the affected area
- If you're unsure of exact placement, experiment with the position across the rough area
- If you find the perfect area, trace the outline of the pad using a marker against your insole for future reference
- Use strong adhesive strips to apply your a pad to your insoles or tape it down using a thin strip of kinesiology tape
UK Delivery Information & Fees
This item is normally dispatched by Royal Mail. The delivery expectation of this service is 1 to 3 working days.
When ordering before 2.00pm (Monday to Friday), your item will usually be dispatched the same working day.
We offer free delivery on all orders of £40.00 and over. On orders below £40.00, a £3.95 delivery charge is applied.
| Order Value | Delivery Fee | Delivery Timescale |
| Up to £39.99 | £3.95 | 1 to 3 working days |
| £40.00 and over | FREE | 1 to 3 working days |
Please see our specific delivery information page for more information. For up to the minute delivery information, please call our customer care team on 020 7501 1102 who will be happy to help.
Our Guide to Finding the Perfect Size and Fit
Using Your Shoe Size
For most of our insoles, the easiest way to find the best size for you is to go off of your current shoe size. The majority of our insoles are available in a range of sizes and you can simply select the size that best fits your existing shoes.
Please be aware that, as with shoes, there can be slight variations in the size of insoles. For example a size 8 of one brand might not be exactly the same size and width as the size 8 of another. To help account for these discrepancies, a number of our insoles include dimensions to help you ensure you're getting the right size.
Measuring Your Current Insoles
While using your shoe size to find your best size is a good guide, it is not always foolproof. If you want to guarantee that your insole fit your shoes as closely as possible, we recommend measuring your existing insole and using this as a guide to your size.
To do this, please follow the steps outlined below:
- Remove the existing insole from the shoes you wish to use your new insoles with (please note that not all insoles are removable)
- Measure the insoles at their longest and widest points (see the below diagram for an idea of where this will be
- Match the measurements to the dimensions of the insoles listed, and choose the size that best fits your results
.jpg)

Where Can I Find the Dimensions?
The dimensions for insoles can be found on the "Product Details" tab (please see below) and are usually found in the sizing section of the listing, in a table. Please be aware that not all products currently have the dimensions listed.

The dimensions of insoles can usually be found on the "Product Details" tab
What If There Are No Dimensions Listed?
If you do not see the dimensions listed on the Product Details tab, please fill in the form below and we will work to get the relevant information as quickly as possible. We will email you once we have the information that you have requested.
Trimming Your Insoles to Fit
To get the ultimate level of fit from your insoles, you can trim them to make a small adjustment. To trim your insoles, simply follow the steps below:
- Remove your existing insoles from your shoes
- Line up your existing and new insoles at the heel
- Trace the outline of the insoles against the new pair at the toe end (see the image below for an example)
- Carefully cut along the traced line
- Your insoles should now fit your shoes better
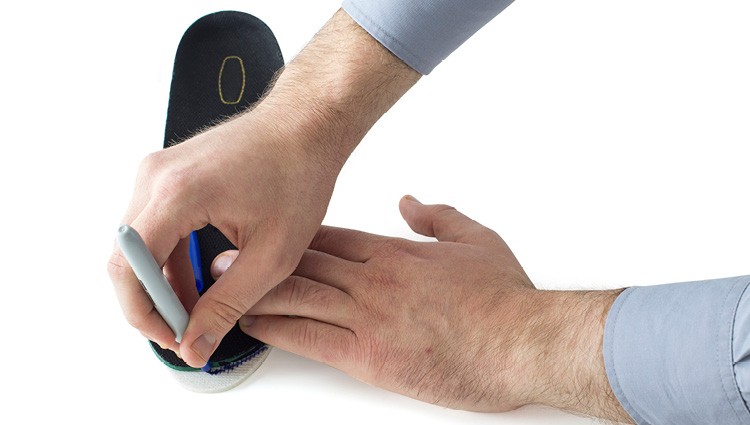
Carefully trace the outline of your insole
Please note that not all insoles are suitable for trimming. Most insoles are unsuitable for return once they have been trimmed to fit; we recommend bearing this in mind prior to trimming.
If you would like a more detailed guide to trimming your insoles, please read our full guide on How to Trim Your Insoles.


.jpg)
.jpg)
.jpg)
.jpg)
