Proheel Heel Elevators for Leg Length Discrepancy
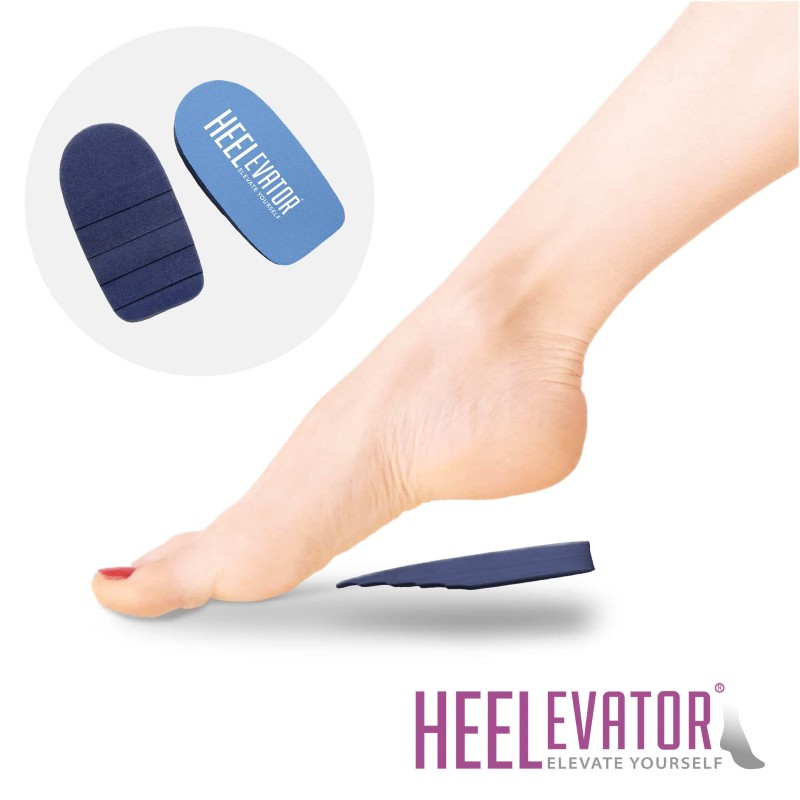
An unaddressed limb length discrepancy can give rise to a number of postural problems, including lower back pain. By lifting the shorter limb from under the heel, posture can be returned to normal and pain-free walking restored.
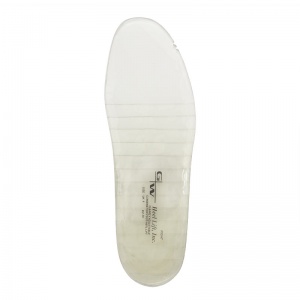
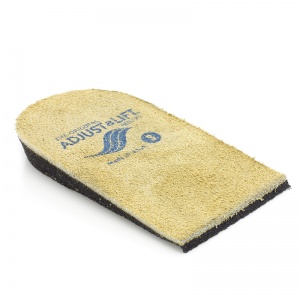
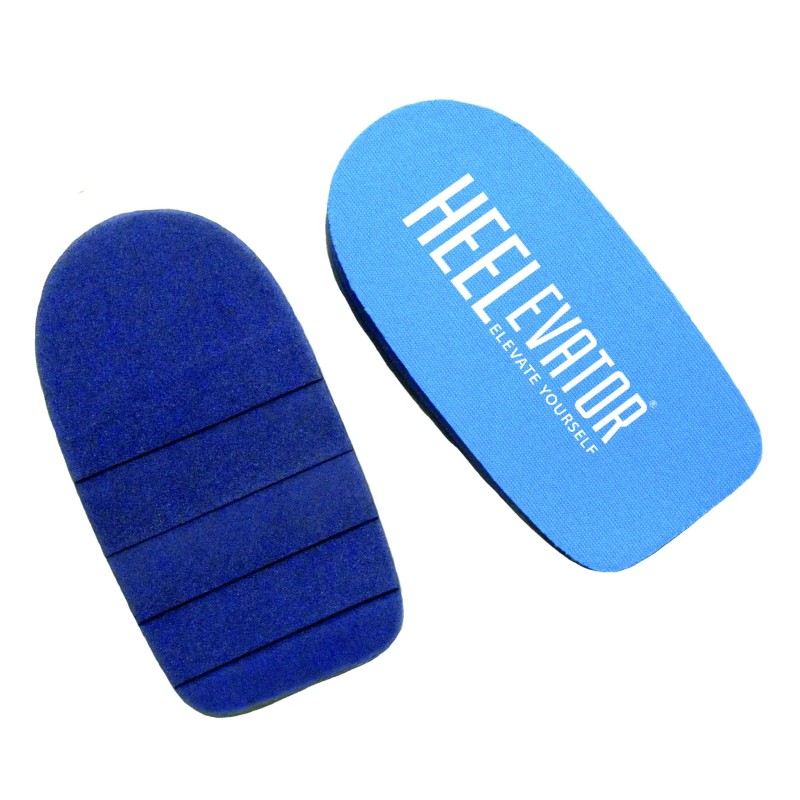
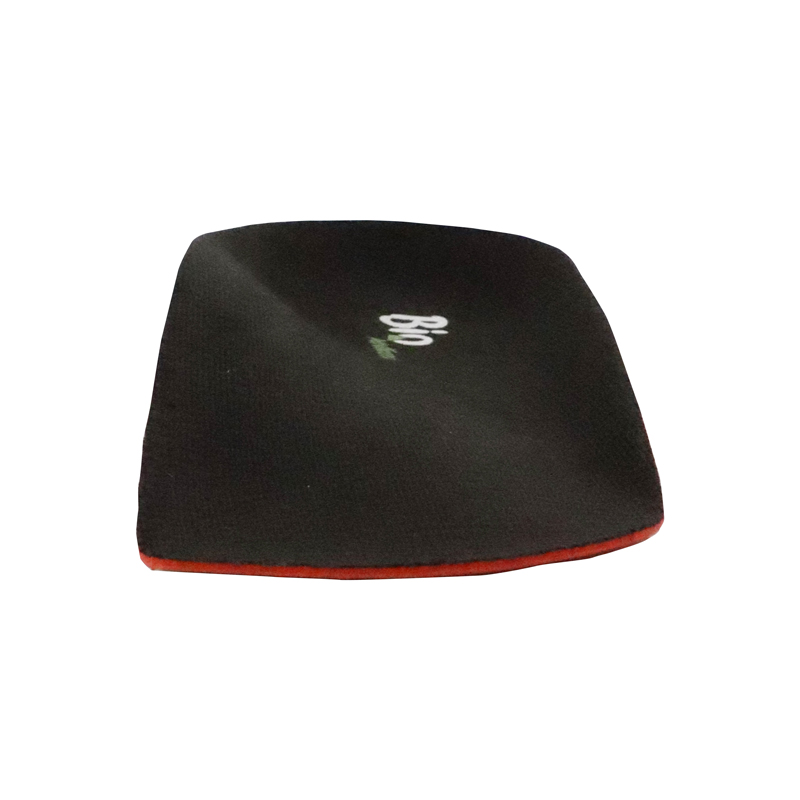
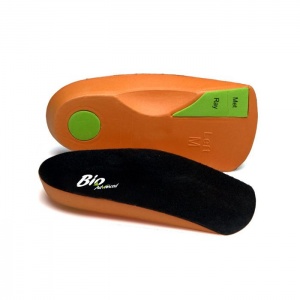
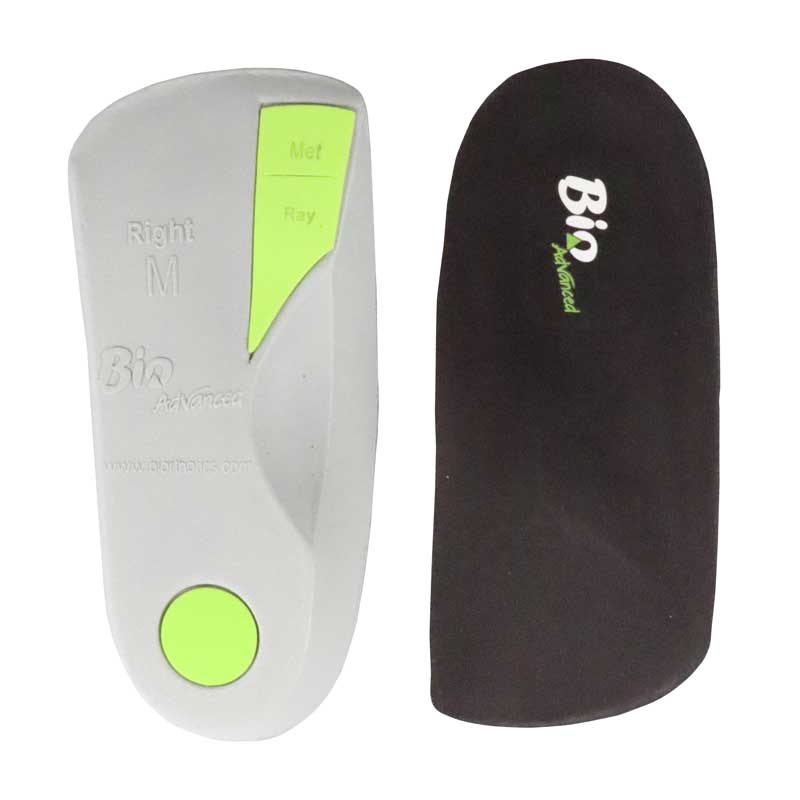
The Proheel Heel Elevators for Leg Length Discrepancy are rearfoot moulded orthotics made to offer effective heel elevation. Featuring a robust heel cup, the Proheel Elevators provide excellent stability, support and comfort and are ideal for correcting a number of problems.
What's Included?
- 1 x Pair of Heel Elevators
- 1 x Pair of Elevation Strips
One Leg Slightly Shorter than the Other?
If you have one leg slightly shorter than the other as the result of an operation, surgery or just from birth, these Heel Elevators are ideal. Simply slip one into the shoe on your affected side and go about your day as usual, free from pain and discomfort.
Sizing Information for Proheel Heel Elevators
Proheel Heel Elevators is available in four different sizes based on shoe size. Please consult the table below for details and select the appropriate size for you from the drop-down menu above.
For a more detailed fit, we recommend measuring the width and length of an existing insole at the widest and longest point (as shown in the image below). Once you have this measurement, please consult the sizing chart beneath.
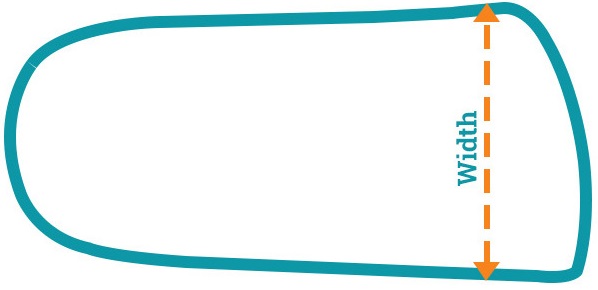
| Size | UK Shoe Size | Dimensions |
| Extra Small | Child Size 9½ - Adult Size 1½ | 92 x 49mm |
| Small | Size 2 - 5 | 109 x 56mm |
| Medium | Size 6 - 9 | 121 x 65mm |
| Large | Size 9½ - 12½ | 140 x 75mm |
How Do I Know Which Elevation Size to Purchase?
Proheel Heel Elevators are available in three different thickness styles, including 6mm, 9mm and 12mm. To decide which thickness is right for you, we recommend seeking the advice of a footcare professional.
If you already have this information, simply select the correct thickness from the dropdown menu at the top of this page.
How Do You Correctly Fit Proheel Heel Elevators?
In order to correctly fit your heel elevators, please follow our instructions below:
- Select the correct size for your foot by following our sizing guidance above
- Remove the film from the elevation strip and attach it to the base of the insole
- Press the insole downward onto the strip to ensure adhesion
- Keeping your existing insole in, place the heel elevator at the back of your shoe
- Place your foot inside your shoe and adjust the position of your insole until comfortable
How Do I Fit the Elevation Strip and Insole Together?
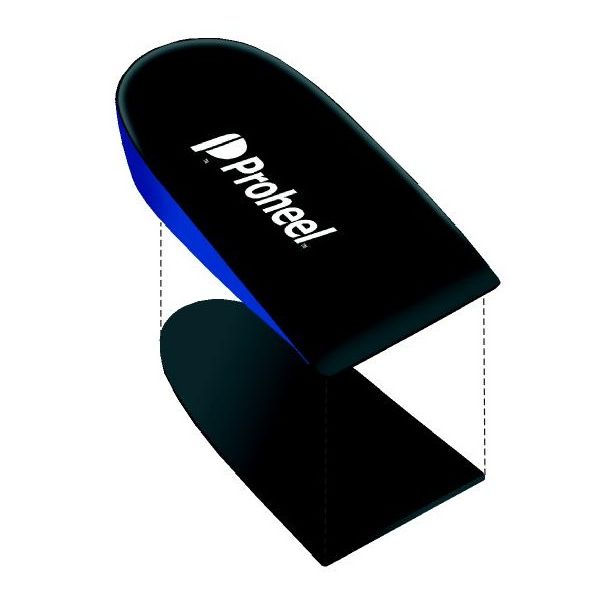
To combine the elevation strip and heel elevation insole together, simply remove the adhesive cover strip from the wedge and place the sticky side against the underside of your insole. Apply pressure for ten seconds until the two are moulded together correctly.
Please view the image below for a visual demonstration of how the two parts fit together:
What Does a Heel Elevation Insole Do?
Proheel Heel Elevators raises the heel in order to elevate the leg into a comfortable position. If you have on leg longer than the other, a heel elevation lift simply raises the lower limb to a point where both legs match, reducing painful symptoms and inflammation.
Key Features of the Proheel Heel Elevators
- Robust heel cup provides and enhances stability
- Anti-bacterial microfibre top cover makes for clean and odourless insoles
- Additional self-adhesive 3mm heel raise further enhances elevation
- Shock-absorbing EVA construction soaks up impact and shock
- Available in three thicknesses and four different sizes
- Five degree wedges also available
- Supplied and sold as a pair
A Cure for Leg Length Discrepancy
Discrepancy in the length of your limbs can cause serious pain in the feet, ankles and knees. Many suffer with leg-length discrepancy without ever knowing it.
If you are aware your legs are two different lengths, a heel elevator works to balance this out by creating an even, level platform. The use of a heel elevator allows the user to walk pain-free by raising the heel to a point where both legs now match.
Indications and Conditions for Use
Proheel Heel Elevators are recommended for:
- Achilles Tendinopathy
- Haglund's Disease
- Heel Pain
- Heel Spurs
- Leg Length Discrepancy (LLD)
- Plantar Fasciitis
- Sever's Disease (Calcaneal Apophysitis)
Prevent and Alleviate Achilles Tendinitis Symptoms
Achilles Tendinitis is often caused by a set of tight or overworked tendons in the back of the foot. By lifting the heel, the tension in the tendon is reduced, allowing for natural and corrective healing.
Are Proheel Elevators Provided as a Pair?
Yes, the Proheel Heel Elevators are supplied as a pair – one for each foot. The heel elevators are universal, so if you only need it for one foot you can boost height for one foot in two different pairs of shoes.
Five Degree Wedge
In addition to the various sizes and thicknesses available, the Proheel is also available as a 5° wedge which reduces the loading of the medial (inner) side of the heel which occurs with pronation of the foot. Many patients are unable to tolerate orthotics under each arch or the forefoot and so the Proheel 5° wedge offers an excellent alternative for pronation control.
UK Delivery Information & Fees
This item is normally dispatched by Royal Mail. The delivery expectation of this service is 1 to 3 working days.
When ordering before 2.00pm (Monday to Friday), your item will usually be dispatched the same working day.
We offer free delivery on all orders of £40.00 and over. On orders below £40.00, a £3.95 delivery charge is applied.
| Order Value | Delivery Fee | Delivery Timescale |
| Up to £39.99 | £3.95 | 1 to 3 working days |
| £40.00 and over | FREE | 1 to 3 working days |
Please see our specific delivery information page for more information. For up to the minute delivery information, please call our customer care team on 020 7501 1102 who will be happy to help.
Our Guide to Finding the Perfect Size and Fit
Using Your Shoe Size
For most of our insoles, the easiest way to find the best size for you is to go off of your current shoe size. The majority of our insoles are available in a range of sizes and you can simply select the size that best fits your existing shoes.
Please be aware that, as with shoes, there can be slight variations in the size of insoles. For example a size 8 of one brand might not be exactly the same size and width as the size 8 of another. To help account for these discrepancies, a number of our insoles include dimensions to help you ensure you're getting the right size.
Measuring Your Current Insoles
While using your shoe size to find your best size is a good guide, it is not always foolproof. If you want to guarantee that your insole fit your shoes as closely as possible, we recommend measuring your existing insole and using this as a guide to your size.
To do this, please follow the steps outlined below:
- Remove the existing insole from the shoes you wish to use your new insoles with (please note that not all insoles are removable)
- Measure the insoles at their longest and widest points (see the below diagram for an idea of where this will be
- Match the measurements to the dimensions of the insoles listed, and choose the size that best fits your results
.jpg)

Where Can I Find the Dimensions?
The dimensions for insoles can be found on the "Product Details" tab (please see below) and are usually found in the sizing section of the listing, in a table. Please be aware that not all products currently have the dimensions listed.

The dimensions of insoles can usually be found on the "Product Details" tab
What If There Are No Dimensions Listed?
If you do not see the dimensions listed on the Product Details tab, please fill in the form below and we will work to get the relevant information as quickly as possible. We will email you once we have the information that you have requested.
Trimming Your Insoles to Fit
To get the ultimate level of fit from your insoles, you can trim them to make a small adjustment. To trim your insoles, simply follow the steps below:
- Remove your existing insoles from your shoes
- Line up your existing and new insoles at the heel
- Trace the outline of the insoles against the new pair at the toe end (see the image below for an example)
- Carefully cut along the traced line
- Your insoles should now fit your shoes better
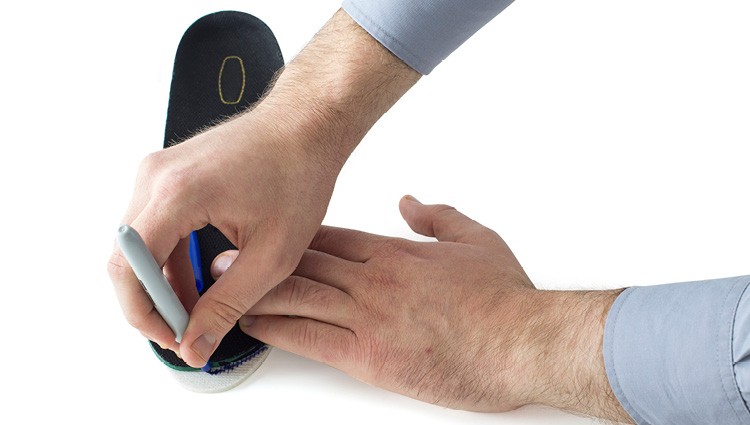
Carefully trace the outline of your insole
Please note that not all insoles are suitable for trimming. Most insoles are unsuitable for return once they have been trimmed to fit; we recommend bearing this in mind prior to trimming.
If you would like a more detailed guide to trimming your insoles, please read our full guide on How to Trim Your Insoles.


.jpg)
.jpg)
.jpg)
.jpg)
.jpg)
.jpg)
.jpg)
.jpg)
.jpg)
.jpg)


.jpg)
.jpg)
.jpg)
.jpg)
.jpg)